Prepare the Restech pH-Dx Recorder:
You will first need to start your Restech pH device and configure the SD card for a new patient.
Open the Restech DataView Lite program.
Either create a password and then verify or just click OK through the two password fields.
Insert a formatted SD memory card (supplied by Restech) into the card reader on your computer (Restech also supplies a card reader if needed).
Enter the last name, first name, and study date (must be in MM-DD-YY format) in the appropriate fields. These are required fields and must be entered to proceed.
Click the Patient Set-Up menu. Click Save New Patient. A warning will appear that reads “You are about to overwrite the file on the data card. Are you sure you want to do this?” Click Yes.
A window will appear that says: “Your File Has Been Saved – The Data Card Has Been Overwritten.”
The program will ask you to confirm that all the information is correct and that you are finished. Click Yes to proceed.
Remove the SD card from the computer and insert it in the Dx-Recorder. Put the AA batteries in the Dx-Recorder (Important: SD card must be inserted before the device is powered on by inserting batteries).
Open Easy III System Utilities
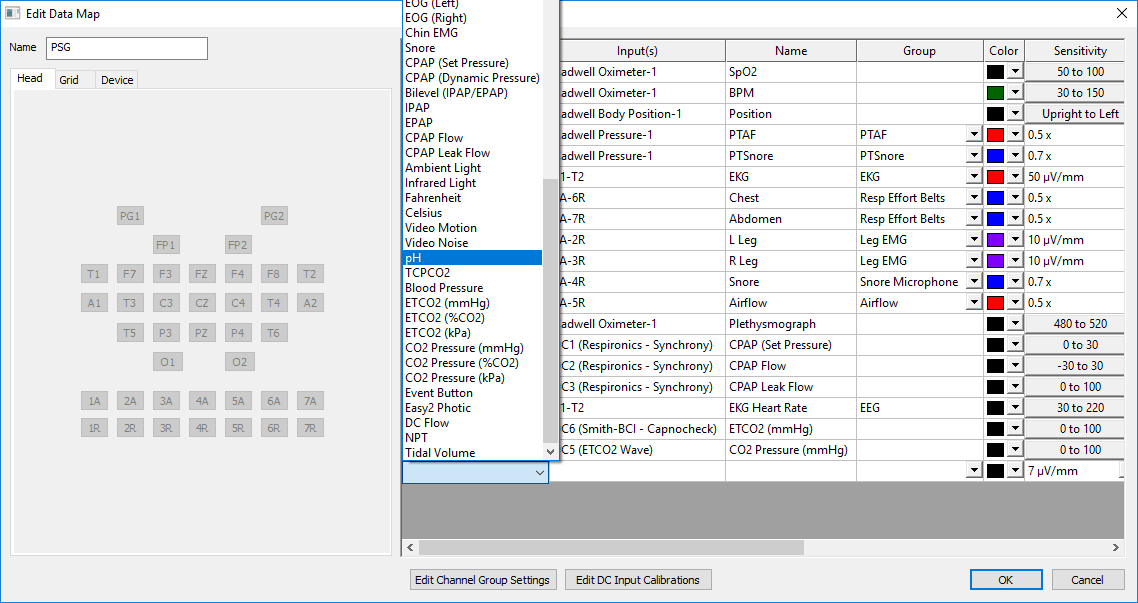
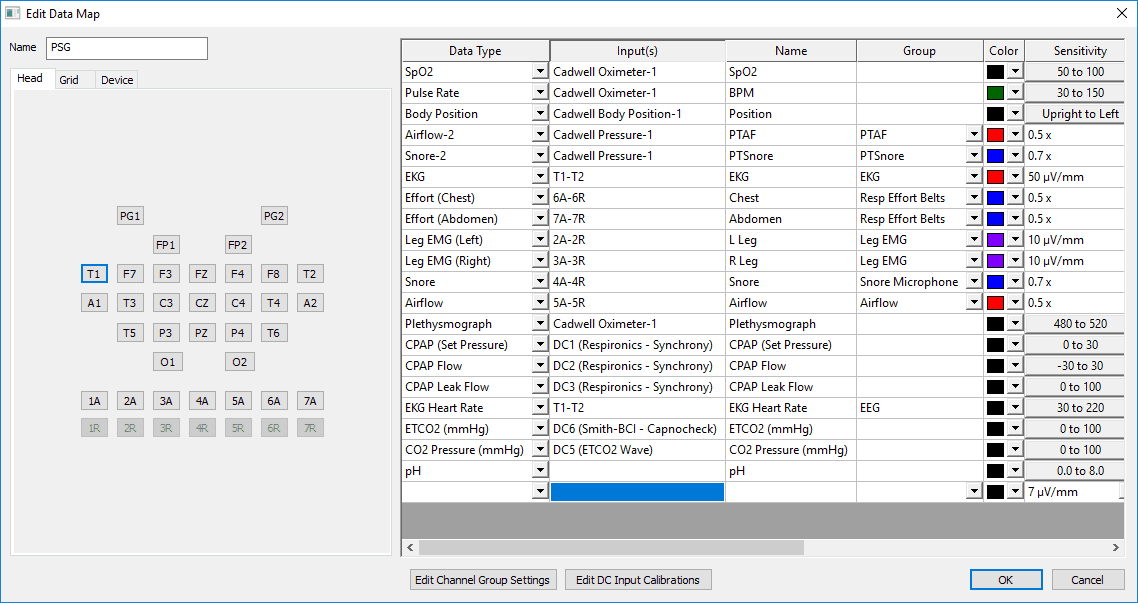
- Click System Setup, click Data Map, find the Data Map that you want to add/calibrate your pH sensor on and click Edit.
- Unless already in the Data Map, click the drop down arrow on the empty bottom line, scroll down and select pH:

- Now, Click on the button labeled Edit DC Input Calibrations.
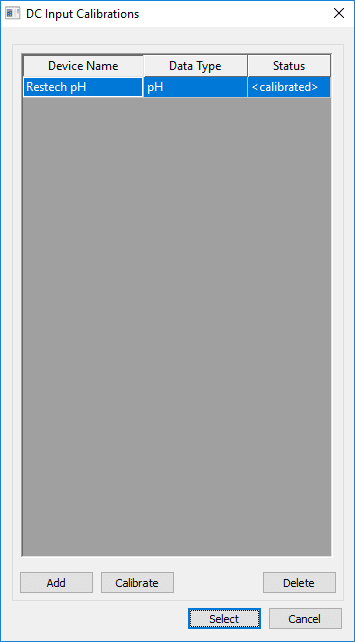
- In the window labeled Edit DC Input Calibrations, select your pH device or click Add

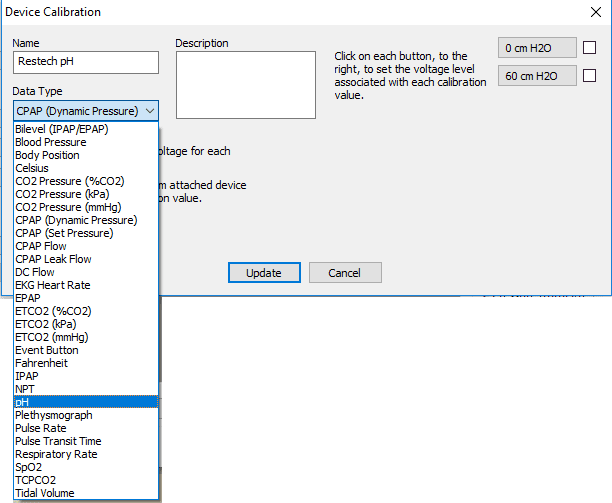
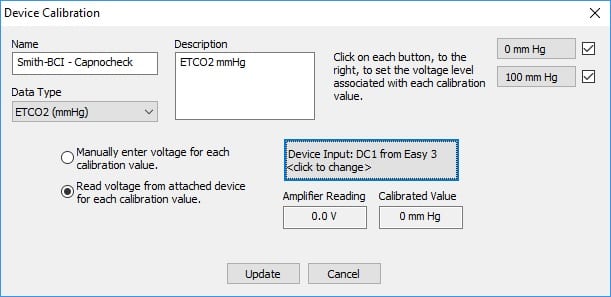
- In the window labeled Device Calibration, type the Name you would like to use for the device, for example: Restech pH.
- Click the Data Type drop down and choose pH
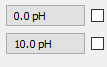
- Verify that your Min and Max values on the right now show 0.0 pH and 10.0 pH.
- If not, click on the button that is incorrect and change the Calibrated Value to the desired reading.
- Click on the button labeled Read voltage from attached device for each calibration value. There can be a short pause while the software connects to the amplifier after you click this button, this is normal.
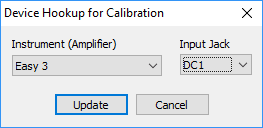
- Click on the button to the right that is labeled with Device Input.
- Change the input jack in the drop down to the DC Input that you have pH connected to on the Easy III Amplifier. You need to choose a DC Input not being used by anything else in your Data Map.
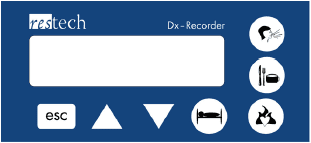
- On the Restech, a black highlight should be over the Cal menu item, press any round button, then use a round button to select Yes for Enable PSG Cal and Test Sleep Adapt:
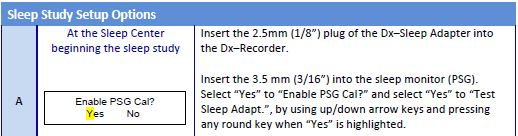
-
- If the device has been disconnected for a long time or this is the first time using, you may have some additional menu items, press any round button to move past the following menu items: pH Value Display, beep on/off, Verify Correct Time, Verify Correct Date in order to get to the Setup Cal. See the DataView Lite manual for instructions on setting those values.
- If the device has been disconnected for a long time or this is the first time using, you may have some additional menu items, press any round button to move past the following menu items: pH Value Display, beep on/off, Verify Correct Time, Verify Correct Date in order to get to the Setup Cal. See the DataView Lite manual for instructions on setting those values.
- You should then see a menu that looks like this:
- The device should now be sending a 1 V signal to the Easy III amplifier, you do not need to press any round buttons or select 10pH as long as it is selected by the black highlight.
- Click on the button in your Device Calibrations that is labeled 10.0 pH. A DcCalibrationManagerwindow will appear asking you to connect and if you are ready .
Click OK.
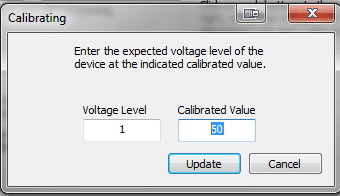
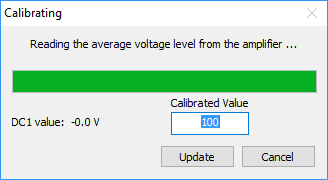
A Calibrating window will appear and a bar will move across. The Calibrated Value box should show 10.0. Click on the Update button when it appears.
- Use the arrow button to move your highlight to 0 pH, the system is now sending 0 Volts analog signal to the Easy III amp.
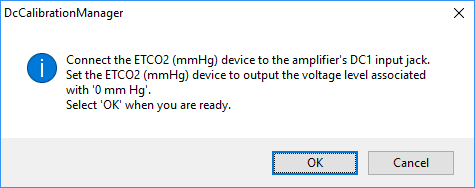
- Click on the button in your Device Calibrations that is labeled 0.0 pH.
A DcCalibrationManager window will appear. Click OK.
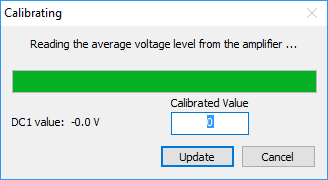
- A Calibrating window will appear and a bar will move across. The Calibrated Value box should show 0.0. Click on the Update button when it appears.
- On the Restech, press any round button to exit the Cal, now you can calibrate your Dx-pH Probe per Restech’s instructions.
- Click Update at the bottom of your Device Calibration window, and click OK at the bottom of the DC Input Calibrations window.

You should now be in the Edit Data Map window.
Check the entry for the pH Data Type to make sure it is set to the DC inputs that you calibrated above.
If there is not an assigned input for pH:
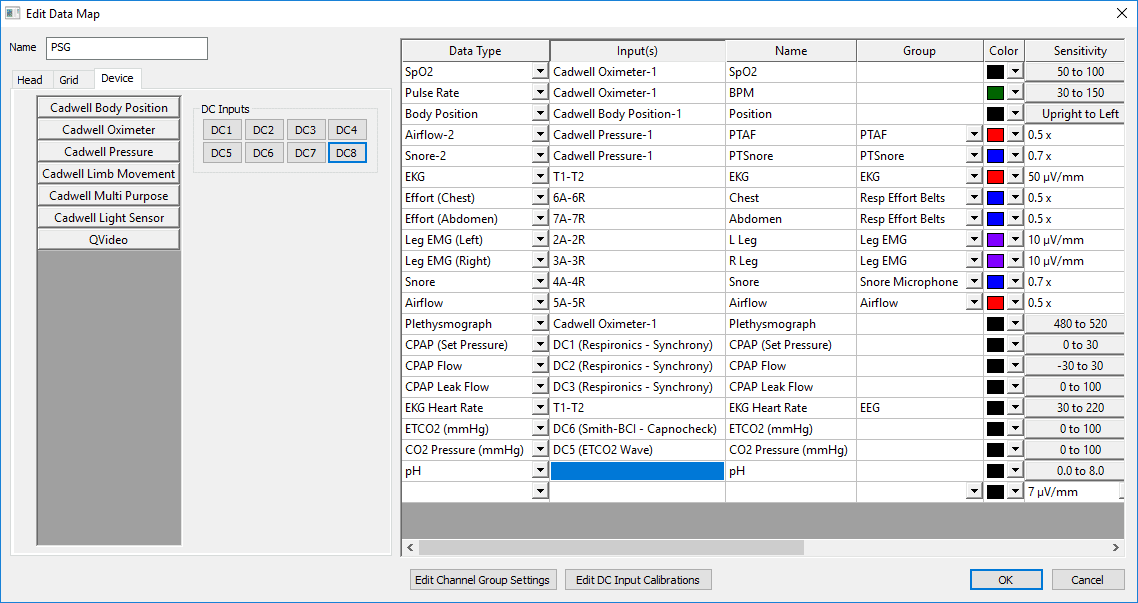
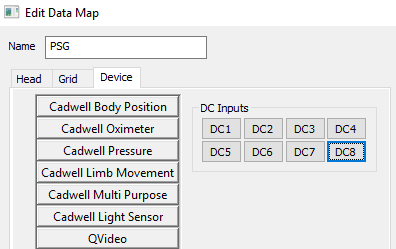
Choose the box to the right of the pH Data Type (Input(s) column). Click on the Device tab on the left side.
Click on the DC Input that you calibrated to for your pH channel. A DC Input Calibrations box will appear. Choose the Restech pH device from the list and click Select. It should fill the settings for that channel. But make sure the Sensitivity is set to the display range you would like to see (default is 0.0 to 8.0, max range is 0.0 to 10.0).
Click OK at the bottom of the Edit Data Map window. Click OK at the bottom of the Edit Data Maps window.
After calibration and adding to your Data Map, you will need to add the channels to any montages you would like to see them in. From within the Edit Montage, you will now find your pH device on the Data Type tab.